
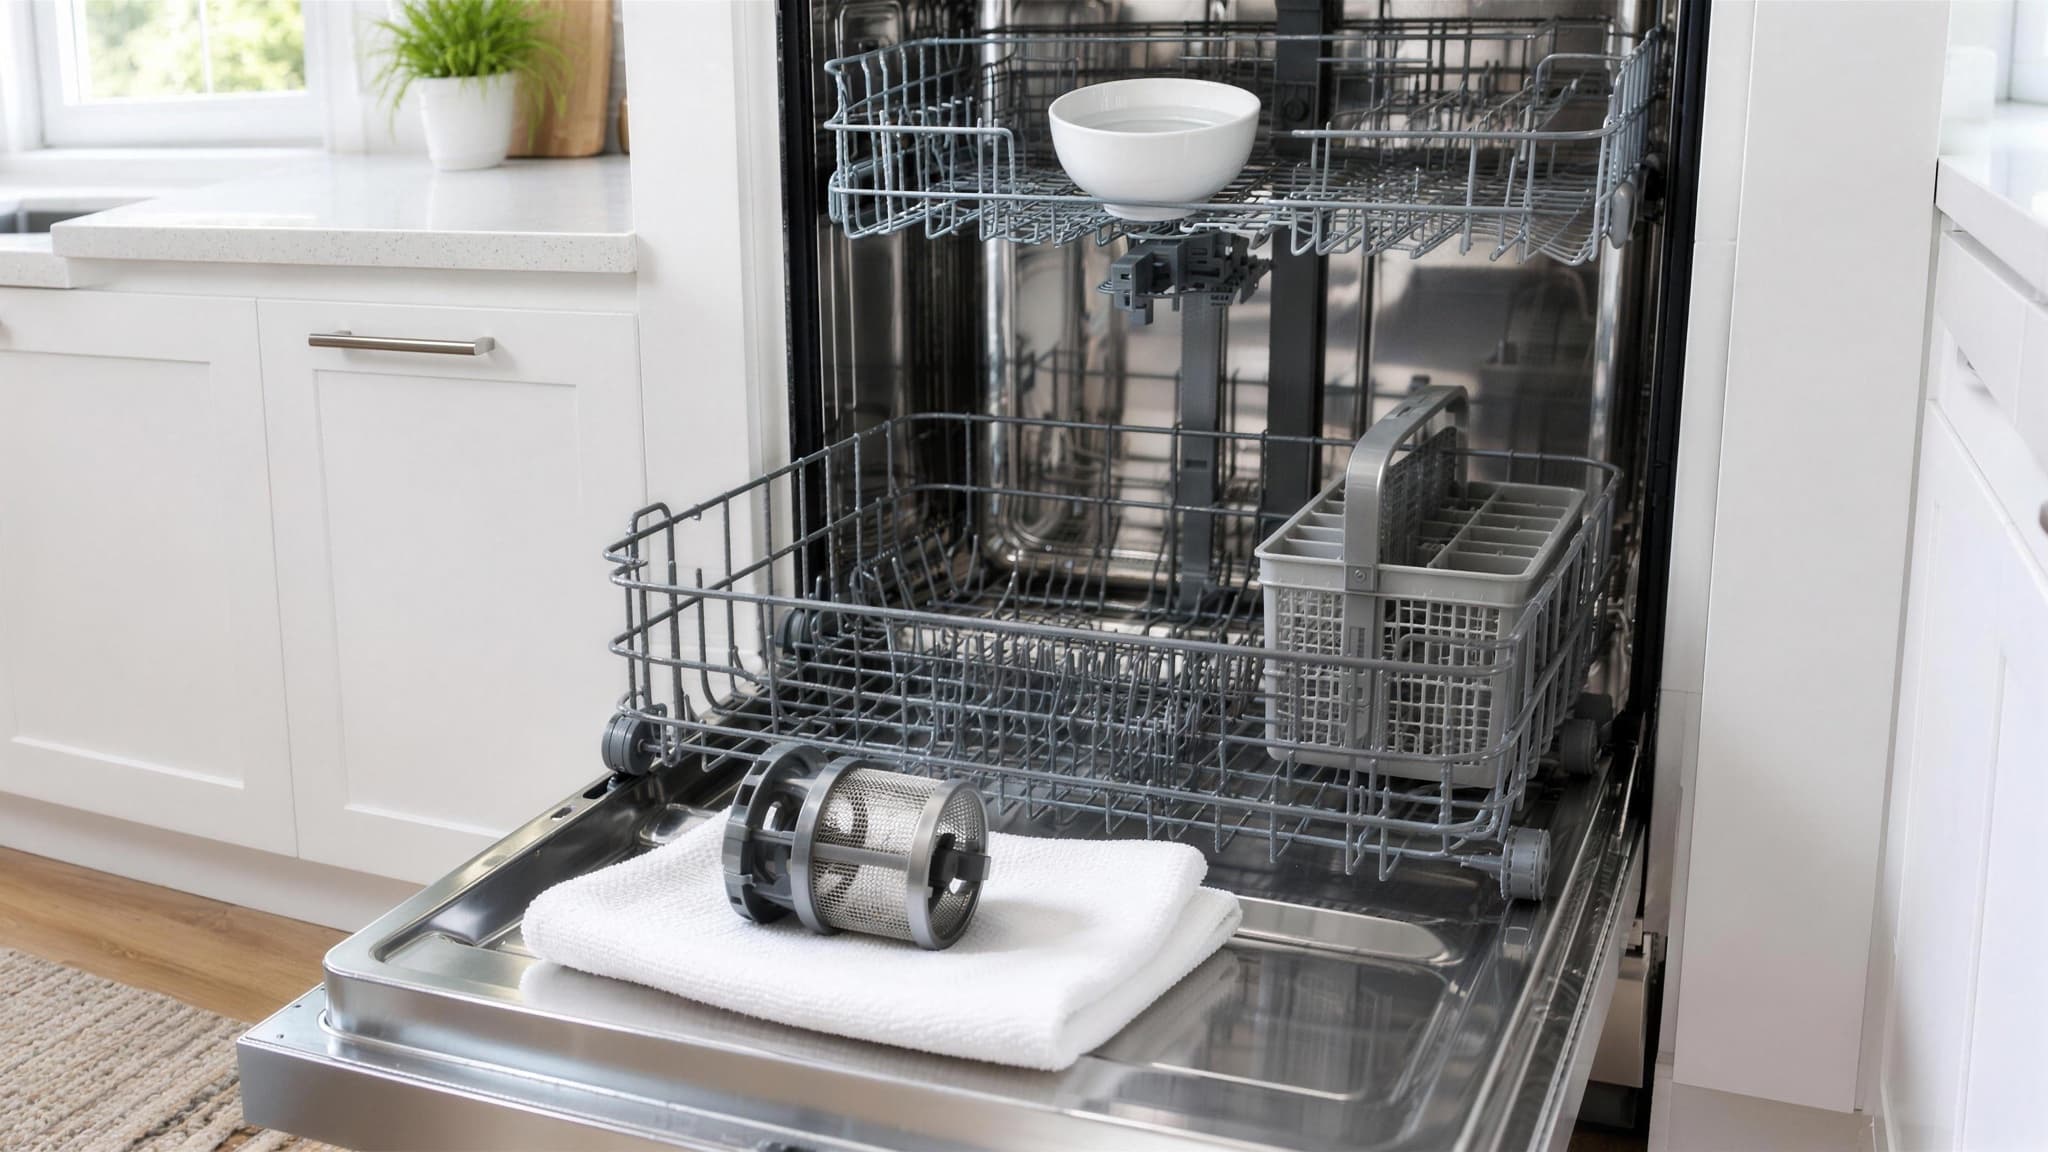
A dishwasher runs hot water and detergent through itself every day, so it feels like the one appliance that should clean itself. It doesn't. Every cycle strains food particles, grease, and detergent residue through a filter at the bottom of the tub, and whatever the filter catches stays there until someone takes it out. That is where the smell lives, and it is why a machine can look spotless on the door and still leave glasses gritty.
The good news is that the fix is cheap and mostly hands-off. Everything below uses dish soap, white vinegar, baking soda, and an old toothbrush. The two things to get right are the order, filter before any cycle, and the chemistry: vinegar and baking soda on separate runs, and bleach nowhere near a stainless steel tub.
Step one: the filter is the whole problem
Older dishwashers had a grinder that pulverized food scraps. Almost every machine sold in the last fifteen years replaced it with a manual filter, because filters are quieter. The trade-off is that a manual filter needs a human, and most owners have never been told it exists. Pull out the bottom rack and look at the floor of the tub, usually beneath the lower spray arm: a round cap with a grip, sometimes marked with an arrow, sitting inside a flat mesh screen.
- Twist the cylindrical filter a quarter turn counterclockwise and lift it out; lift the flat coarse screen out after it
- Soak both pieces in warm water with a squirt of dish soap for about 10 minutes to loosen the grease film
- Scrub the mesh inside and out with a soft brush or old toothbrush, never a wire brush, which tears the screen
- Hold the mesh up to a light: if you can't see through it evenly, keep going
- Wipe out the sump well the filter sits in with a damp cloth; this is where glass shards and fruit labels hide
- Seat the screen, drop the filter back in, and twist until it clicks or the arrows line up
That last step matters more than it sounds. A filter that is sitting in place but not locked lets debris bypass it straight into the pump, which is how a cleaning job turns into a repair call. If the filter fights you on the way out or in, check the manual for your model rather than forcing it; a few brands use a lift-and-tilt instead of a twist.
Step two: spray arms, gasket, and the drain
With the filter out, the rest of the tub is easy to reach. The spray arms come first: most lower arms lift straight off or unscrew, and the holes along their length clog with seeds, mineral grit, and bits of label. Poke each hole clear with a toothpick or a straightened paper clip, rinse the arm under the tap, and spin it to make sure it moves freely once it is back on. Blocked spray holes are the most common reason the top rack comes out dirty while the bottom rack is fine.
Next, the door gasket. Run a finger along the rubber seal around the tub opening and you will find a dark, slick film in the folds, and usually more of it along the bottom lip of the door where water never fully drains. Warm water with a drop of dish soap on an old toothbrush lifts it; work the brush into the fold rather than across it, then wipe with a damp cloth. Do not use vinegar directly here. It is safe diluted in a cycle, but repeated straight contact stiffens rubber over time. Finish by wiping the inside edges of the door and the detergent dispenser, which cakes with old detergent and stops opening cleanly.
Step three: the vinegar cycle, then the baking soda cycle
Now the machine can clean the parts you can't reach. With the tub empty and the filter locked back in, set a dishwasher-safe bowl or measuring cup holding one cup of plain white vinegar upright on the top rack. Run the hottest, longest cycle available with no detergent, and turn off the heated dry. The vinegar disperses into the wash water over the cycle and dissolves the mineral scale and grease film on the tub walls, racks, and the inside of the spray arms.
When that finishes, sprinkle about a cup of baking soda across the floor of the tub and run a short hot cycle. Baking soda deodorizes and leaves the interior noticeably brighter, but it only works as a second, separate pass. Combining the two in one cycle just makes fizz and salty water; acid and base cancel each other before either does its job.
| Method | What it does | The catch |
|---|---|---|
| White vinegar cycle | Dissolves mineral scale and grease film | Bowl on the top rack only; monthly, not weekly, to spare the seals |
| Baking soda cycle | Deodorizes, brightens a dull tub | Separate short cycle after the vinegar, never mixed with it |
| Citric-acid dishwasher cleaner | Same job as vinegar, gentler on rubber, often the manufacturer's pick | Costs money; still won't replace pulling the filter |
| Chlorine bleach | Kills mold on a plastic tub interior | Never on stainless steel, never in the same session as vinegar |
A word on the vinegar debate: some manufacturers advise against it because acetic acid can degrade rubber components with heavy use. A monthly cycle with the vinegar contained in a bowl on the top rack is a long way from heavy use, but if your manual says no, a citric-acid dishwasher cleaner does the same job and keeps the warranty conversation simple.
Fixing a dishwasher that smells
A sour or swampy smell when the door opens is the reason most people go looking for this guide, and the full routine above fixes it the vast majority of the time. The filter and gasket are the usual culprits: food film sitting in warm, wet darkness between cycles is exactly what bacteria want. If the smell is back within a week of a proper clean, the problem is water that is not leaving.
Open the door a few hours after a cycle and look at the sump. A little water in the well around the filter is normal; it keeps the pump seal wet. A puddle across the tub floor is not. The three usual causes are a garbage disposal that was installed without its knock-out plug removed (common in homes where the disposal was replaced recently), a drain hose without a high loop under the sink so dirty sink water flows back, or a clogged air gap, the small chrome cylinder on the counter next to the faucet. Pop the air gap cap and clear it with a toothbrush; the other two are a quick fix for a plumber or a handy owner, but no amount of vinegar will do it.
Mold, mildew, and the door that never dries
Black spotting in the gasket folds or pink slime along the bottom of the door is mildew and bacterial film, not dirt, and it grows because the machine is closed up wet after every cycle. The EPA's guidance on mold and moisture comes down to the same principle for every surface in the house: scrub hard surfaces with detergent and water, dry them, and fix the moisture source, or the mold comes back. For a dishwasher, that means the toothbrush-and-dish-soap pass on the gasket, a full vinegar cycle, and then a change of habit: crack the door open a few inches when the cycle ends and leave it until the tub is dry.
If the growth is heavy and the tub is plastic, a half cup of chlorine bleach in a bowl on the top rack through a normal cycle is the stronger option, on a different day from any vinegar run. On a stainless steel tub, skip bleach entirely; it pits and discolors the steel. Repeat the vinegar cycle a week later instead and stay on the door-ajar habit, which does more than any product.
Stainless steel vs. plastic tubs, and the water question
Check which interior you have before reaching for anything stronger than vinegar. Stainless tubs, now standard on most mid-range and premium machines, tolerate acid well and bleach badly. Plastic tubs, common on budget models, are the reverse: bleach is generally fine if the manual allows it, but they stain from tomato sauce and hold odors more readily, so they benefit from the baking soda pass more than stainless does. Either way, an abrasive pad or powder cleanser scratches both and gives grime a place to grip, so it stays out of the tub.
Water matters too. Most municipal supplies around the Puget Sound region are on the soft side, which is why heavy white limescale on the heating element is less common here than in much of the country. Soft water also means less detergent is needed, and overdosing is what leaves that stubborn film on glassware. Homes on well water in the more rural parts of Snohomish and Skagit counties are the exception: if the inside of your kettle scales up, your dishwasher does too, and the monthly vinegar cycle plus rinse aid earns its keep.
How often to clean a dishwasher
None of this is a big job once the machine has been reset. The rhythm below keeps each session to a few minutes, because nothing ever has months to build up in the filter.
| Frequency | What to do |
|---|---|
| Every cycle | Scrape plates (no need to pre-rinse), then crack the door open when the cycle ends |
| Weekly | Pull the filter, rinse it under the tap, wipe the bottom lip of the door |
| Monthly | Full filter soak and scrub, gasket, spray arms, vinegar cycle then baking soda cycle |
| Every 6 months | Check the air gap and drain hose loop, clean the exterior door edges and control panel seams |
If you're building a rhythm for the whole kitchen rather than one appliance, our house cleaning schedule guide slots the monthly dishwasher clean alongside the fridge and oven, and the deep cleaning checklist covers the rest of the kitchen that only needs attention a few times a year. The dishwasher is also a line item worth checking on any move-out clean; a smelly filter is the kind of thing a landlord notices.
Leave the rest of the kitchen to us
The dishwasher itself is a ten-minute job once a month, and the machine does most of it while you do something else. What quietly eats a weekend is everything around it: the stovetop, the cabinet fronts, the sink, the floor under the table, the fridge shelves. A recurring clean keeps that whole loop under control, so the monthly filter pull is the only kitchen chore that stays on your list.
Our home cleaning service covers the full kitchen, appliance exteriors, and detail work on every visit, starting at $150 with the same cleaner every time. We're a background-checked, bonded and insured crew that has cleaned 1,200+ Puget Sound homes since 2022, now serving north King, Snohomish & Skagit counties, and every visit is backed by a 100% satisfaction guarantee. You can get a flat quote in about 60 seconds.