
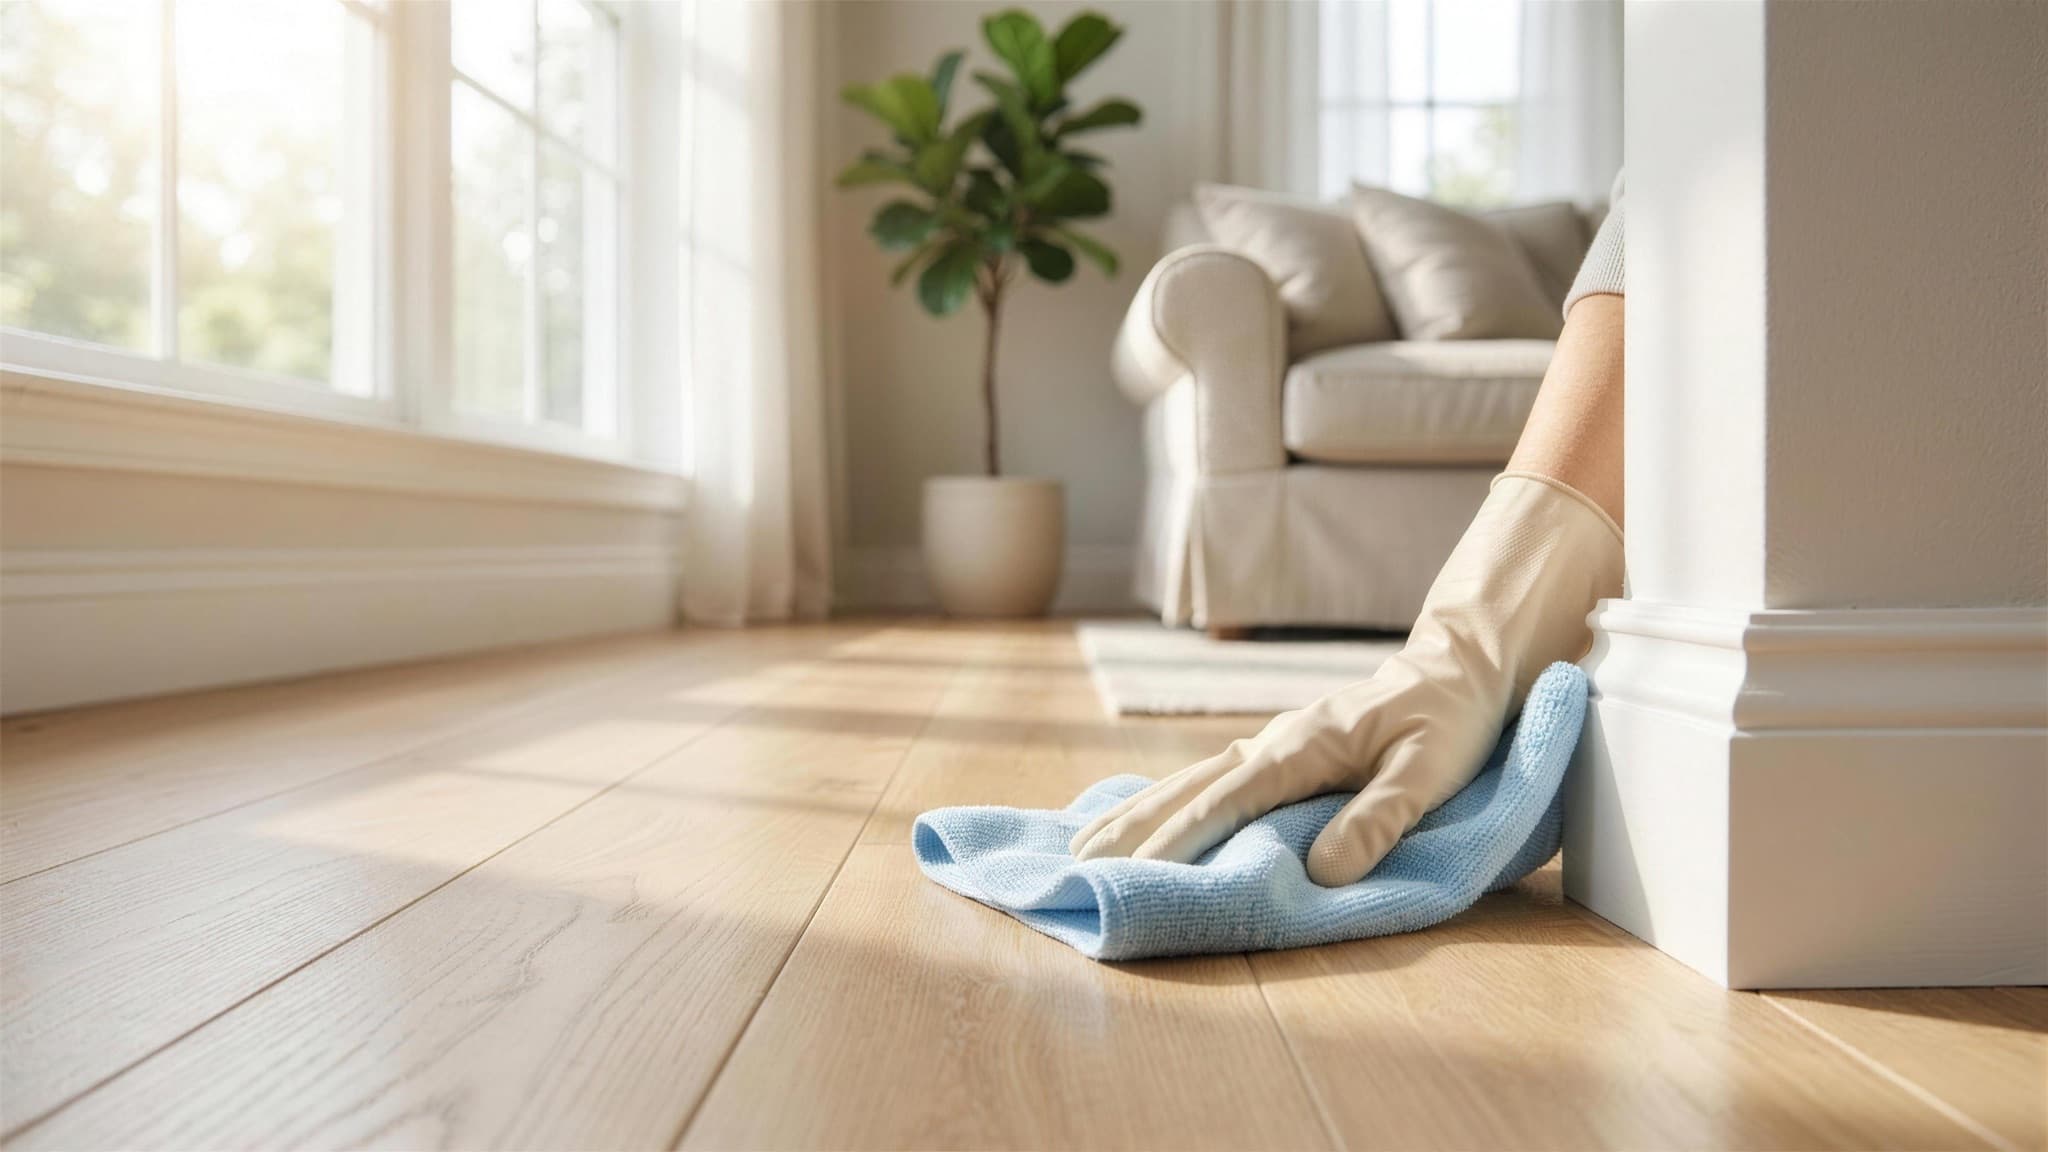
Baseboards are the most-skipped surface in a normal cleaning routine, and it shows: a soft gray line along the bottom of every wall that people stop noticing until a photo or a showing forces the issue. The fix isn't more scrubbing. It's the right tool, in the right order, so dry dust comes off before it ever meets a wet cloth.
Most baseboard damage is self-inflicted — a magic eraser dulling a matte finish, or a soaked rag lifting paint at the seam where trim meets wall. None of that is necessary. Below: the tools worth owning, the step-by-step method that won't strip the paint, how to fix yellowed white trim, and a way to do the whole job standing up.
The tools that actually work
What to clean baseboards with matters more than how hard you scrub. A vacuum with a soft brush attachment is the fastest way to lift loose dust and pet hair without touching the paint at all — run it the length of every board before anything gets wet. A microfiber cloth or sock, damp with warm water and a drop of dish soap, handles the film that dry dusting leaves behind. For low reach without bending, a flat microfiber mop — the kind sold for floors — works standing up and holds a wet or dry pad interchangeably.
| Tool | Best for | Skip it if |
|---|---|---|
| Vacuum brush attachment | First pass on any baseboard, every time | Never — it's the step everyone skips and shouldn't |
| Damp microfiber cloth | Everyday film, fingerprints, light grime | The board is still visibly dusty — vacuum first |
| Flat microfiber mop | Whole-house passes, bad knees or a bad back | Tight corners and inside miters — finish those by hand |
| Melamine (magic) eraser | Isolated scuffs on satin or gloss paint, used lightly | Flat or matte paint — it dulls the sheen permanently |
One trick worth keeping: after the wet pass, wipe dry baseboards with a used dryer sheet. It leaves a faint anti-static layer that keeps dust from clinging as fast, so the gray line takes longer to come back.
The step-by-step method that won't strip the paint
The best way to clean baseboards is the same order that works on any painted surface: dry, then damp, never soaked. Skipping straight to a wet cloth just turns dry dust into a gritty paste that gets dragged along the paint instead of lifted off it.
- Vacuum the full length with a soft brush attachment, or dust with a dry microfiber mop
- Mix warm water with a drop of dish soap, or a diluted all-purpose cleaner
- Wring the cloth until it's barely damp — dripping water at the wall seam lifts paint over time
- Wipe in one direction along the length of the board, folding to a clean face often
- Work corners and inside miters with a cotton swab or old toothbrush for the buildup a cloth can't reach
- Dry with a second cloth if the room is humid, so water doesn't sit in the seam
Test any product — even a mild all-purpose cleaner — in a hidden corner first. Painted trim reacts differently by sheen: flat and matte paints scuff and dull far more easily than satin or gloss, so what's safe on one door frame can leave a visible mark on a flat-painted baseboard in the next room.
Removing scuffs and marks without stripping the paint
Scuffs are a different problem from dust, and treating them the same way — more pressure, more product — is how paint gets damaged. Shoe and furniture scuffs usually come off with a slightly damp microfiber cloth and a little patience before anything stronger gets involved. If that doesn't move it, a very small amount of baking soda on a damp cloth adds mild abrasion without the risk a melamine eraser carries on flat or matte paint.
Crayon and marker are their own case. For crayon, a bit of warmth — a hairdryer on low, held a few inches back — softens the wax enough to wipe away with a soft cloth before it smears further. For permanent marker, rubbing alcohol on a cotton swab lifts most of it on satin or gloss paint; test a hidden spot first, since alcohol can dull flat finishes just like an eraser can. Whatever the mark, work from the outside edge in — starting in the center spreads it wider before it lifts.
Does the trim material change how you clean it?
Somewhat, and it's worth knowing which one is on your walls before reaching for anything stronger than water. Painted solid wood is the most forgiving — it tolerates a damp cloth and the occasional mild cleaner well, and any scuffs that survive cleaning can be touched up with leftover trim paint. MDF trim, common in newer builds and most production homes, is wood fiber under paint rather than solid wood, and it swells if water sits at a seam or a chip in the paint for too long — damp, never wet, matters even more here.
Vinyl or PVC baseboard, often used in bathrooms and basements for moisture resistance, is the toughest of the three and can handle a wetter cloth or even a mild all-purpose spray without the swelling risk. Rubber or vinyl cove base — the curved, seamless trim common in garages, laundry rooms, and unfinished basements — cleans the same way but tolerates a genuinely wet mop pass, since it's built for exactly that. When in doubt about which you have, look at the seams: painted wood and MDF show nail holes and joints; vinyl cove base runs in one continuous, slightly flexible strip.
Baseboard trim vs. baseboard heaters
Worth a pause before you grab a cloth: “baseboard” means two different things, and cleaning them the wrong way is more than a cosmetic mistake for one of them. Everything above is for baseboard trim — the painted wood or MDF strip where the wall meets the floor. Baseboard heaters are the electric or hydronic units that run along the same spot but house metal fins inside a vented cover, and they need an entirely different approach.
For an electric baseboard heater: switch off the breaker first, always. Vacuum the fins through the vents with a soft brush attachment to clear dust and pet hair — that buildup is a real fire risk, not just a dirt problem. Never use water or a damp cloth on the fins themselves; wipe only the painted metal housing, and only once it's fully cool and the power is confirmed off. If you're unsure which one is in your wall, look for a thermostat or vents along the top — trim doesn't have either.
Fixing yellowed white baseboards
White trim yellows for reasons a normal wipe never touches: airborne grease near a kitchen, years of UV exposure breaking down the paint's finish, or — less pleasantly — nicotine residue. A baking-soda paste is the safest first move. Mix baking soda with a little water into a thick paste, spread it over the yellowed section, let it sit five minutes, then work it in gently with a soft cloth and rinse with a barely damp one.
If the paste doesn't fully clear it, a diluted all-purpose degreaser is the next step up — still tested in a corner first, still wiped with a soft cloth rather than scrubbed. What it won't fix is yellowing baked into the paint itself rather than sitting on the surface. If the discoloration doesn't lift after two honest attempts, that's a repaint, not a deeper clean.
How to clean baseboards without bending over
Bending and kneeling for every room is the main reason baseboards get skipped, and it's an easy fix. A flat microfiber mop — the same style used on hardwood or tile floors — reaches the trim standing up. Swap in a dry pad for dusting or a damp one for wiping, and run it the length of each wall the same way you'd mop a floor.
A vacuum with a crevice or brush tool on an extension wand does the same job for the dry pass. Neither tool gets fully into inside corners or tight miters — plan on finishing those by hand every second or third pass rather than every time.
How often to clean baseboards
Baseboards don't need daily attention, but they punish neglect more than most surfaces — dust that sits for months bonds to the paint in a way a quick wipe won't undo. A simple rhythm keeps it from ever getting there.
| Frequency | What to do |
|---|---|
| Weekly | Quick dry pass with a vacuum brush or dry microfiber mop |
| Monthly | Damp wipe-down, especially high-traffic hallways and pet areas |
| Twice a year | Full detail pass as part of a seasonal deep clean — corners, miters, and scuff spot-treatment |
If you're building out a full routine rather than just baseboards, our house cleaning schedule guide has the daily-to-seasonal breakdown for the rest of the home, and the deep cleaning checklist is where baseboard detailing fits alongside everything else that only needs attention a few times a year.
When to hand it to a crew
A single room is a fifteen-minute job with the right tools. What actually eats an afternoon is a whole house — every hallway, every room, every inside corner — especially before a showing, a move, or hosting. That's where a recurring clean earns its keep: baseboards are on the checklist every visit, so the gray line never gets the chance to set in.
Our home cleaning service includes baseboard detailing on every visit, not just as an occasional add-on, starting at $150 with the same cleaner every time. We are a background-checked, bonded and insured crew cleaning homes across Greater Seattle and the North Sound since 2022, serving the North Sound across north King, Snohomish, and Skagit counties — from Seattle, Bellevue, and Kirkland up through Everett, Marysville, and Arlington to Mount Vernon and Burlington. Every visit is backed by a 100% satisfaction guarantee, and you can get a flat quote in about 60 seconds.