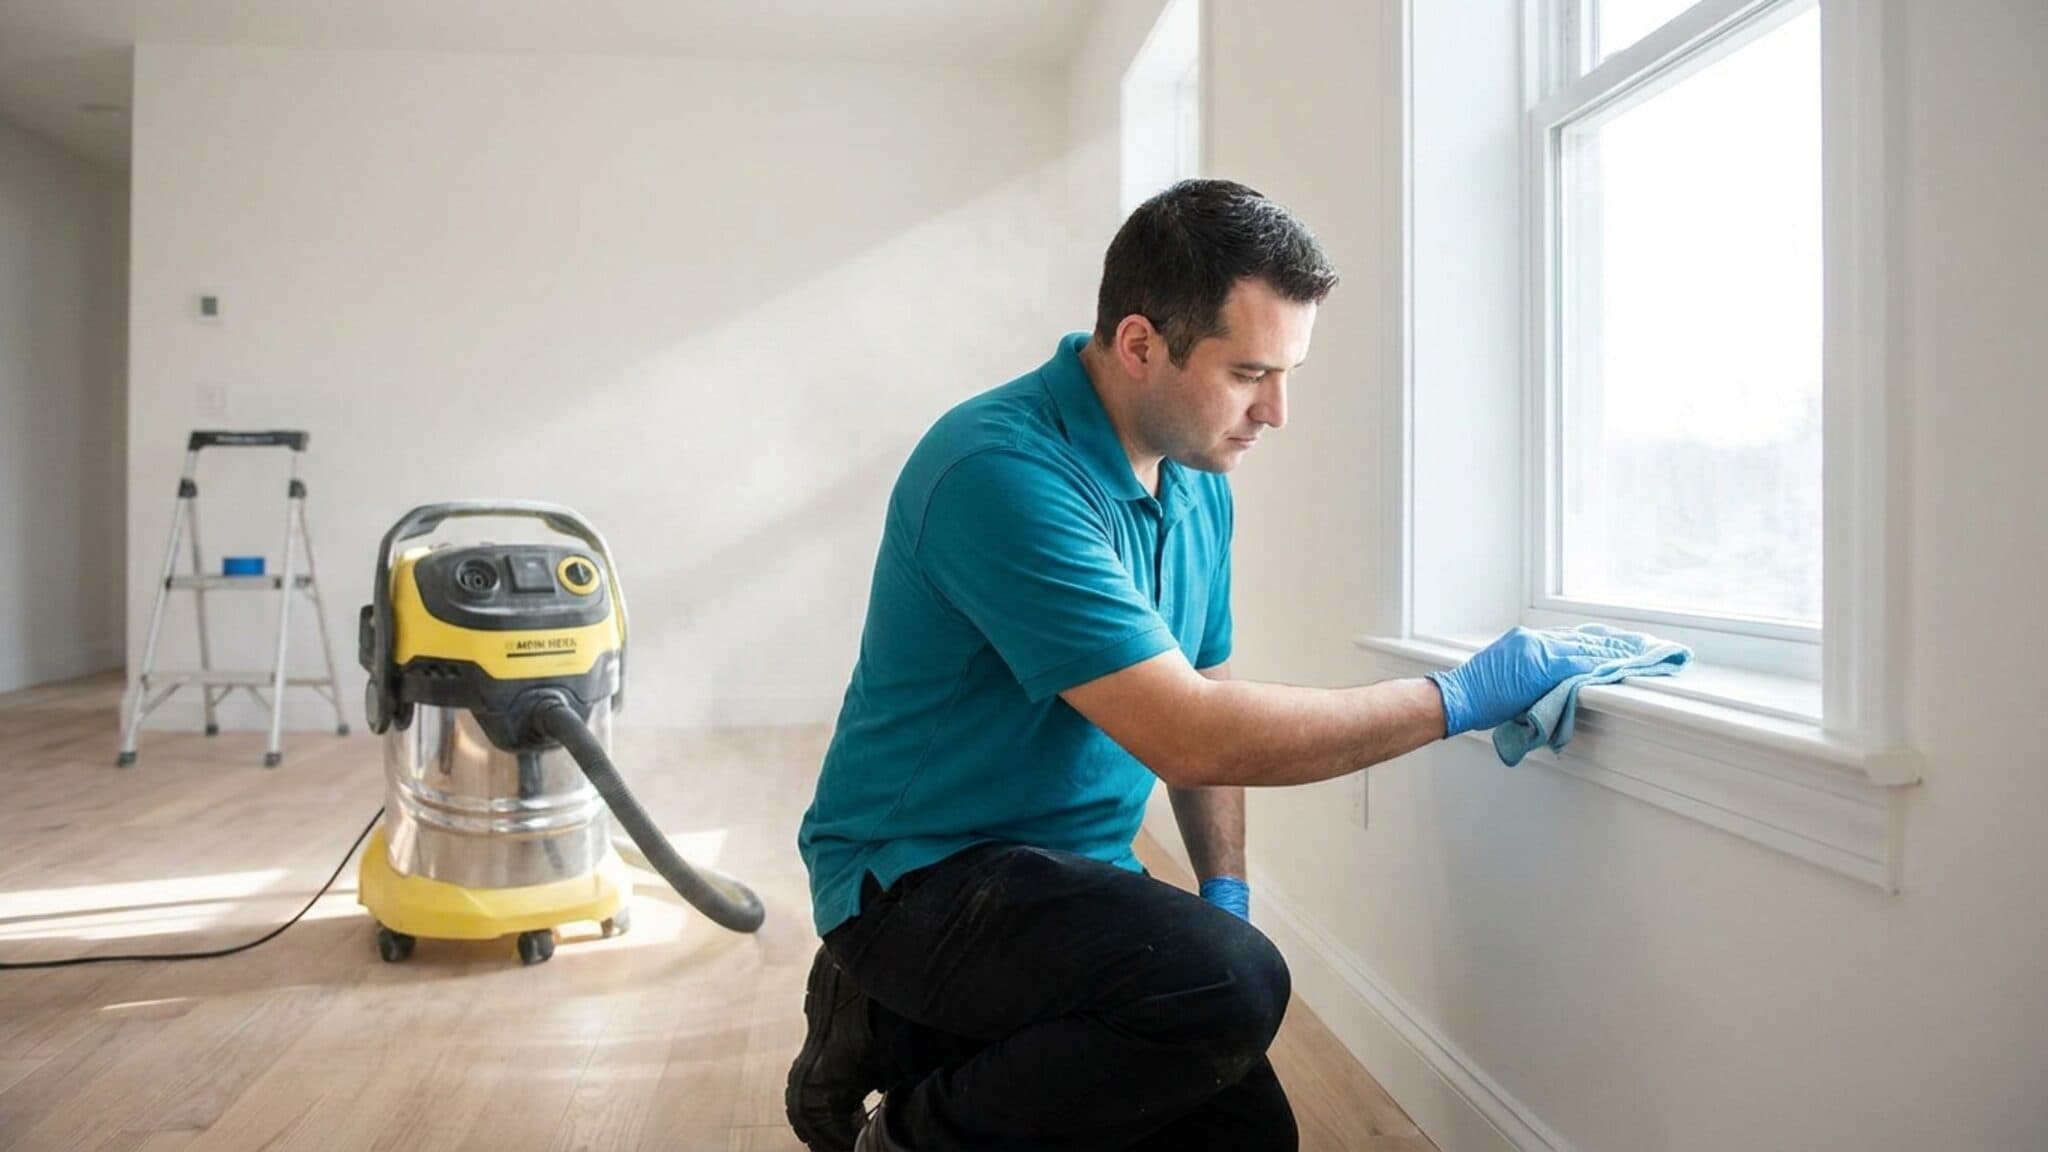
Post-construction cleaning is not a deep clean with more elbow grease behind it. It is a different job — different order, different equipment, and a dust problem that beats you if you treat it like household dirt. This is the post construction cleaning checklist crews work from: the three phases, the room-by-room final clean, and what it costs per square foot.
Most of these jobs go wrong for one reason — timing. Someone books a single clean, the crew does good work, and two days later a gray film is back on every surface. That film is sanding dust that was still airborne when the wiping happened. Scrubbing does not fix it; sequencing does. Below: the phases, how to remove drywall dust instead of relocating it, honest 2026 post construction cleaning rates, and who is on the hook.
What post-construction cleaning actually is
So, what is post-construction cleaning? It is the clean that turns a finished build site into a space someone can move into. It deals with what construction leaves behind rather than what living does: fine drywall dust in every crevice, adhesive and caulk smears, paint overspray on glass, stickers on windows and appliances, grout haze on new tile, and sawdust inside drawer boxes.
That makes cleaning new construction homes a different skill from cleaning a lived-in one, and it is worth being blunt about how this differs from the other checklists on this site. A deep clean removes years of accumulated grime — soap scum, oven grease, dust on top of the fridge. A move-out clean is about passing a landlord's inspection on an empty home so a deposit comes back. This is neither. Nothing here has ever been used, and the mess is airborne mineral dust, not grime.
New finishes are fragile in a way lived-in ones are not. Paint keeps curing for weeks, and fresh grout, unsealed stone, soft brass, and factory-finished hardwood all mark permanently under a scrub pad or the wrong chemical. Cleaning after renovation means picking the gentlest thing that works.
The three phases: rough, light, and final clean
Professional clean up after construction happens in three passes, spaced around the trades' schedule rather than crammed into one visit. Jumping straight to the final clean is the most expensive mistake on the list, because dust that is still settling lands on everything you just detailed.
Phase one: the rough clean
The rough clean happens once drywall and the messy trades are done but before finishes go in. Haul out scrap lumber, offcuts, packaging, and nails; sweep the bulk debris; pull stickers while the adhesive is fresh; run a first HEPA pass over floors and ledges. Nothing gets detailed — the point is a workable site and much less dust in the building before new surfaces cover it.
Phase two: the light or touch-up clean
The light clean lands after finishes are installed and before the walkthrough. Paint spatter comes off floors and glass, caulk smears off tile, adhesive off counters, and cabinets and closets get vacuumed out. It is also the pass that surfaces punch-list items nobody could see under dust — a scuffed jamb, a missing switch plate — while the GC can still fix them.
Phase three: the final clean
The final clean construction crews hand over is what most people picture: top-to-bottom detail on a finished space, done last, ideally 24 to 48 hours after the final trade leaves so airborne dust has landed. Ceilings, fixtures, and vents first. Walls, trim, and doors next. Then glass and tracks, then appliances, kitchen, and baths. Floors last, always.
| Phase | When it happens | What it covers |
|---|---|---|
| Rough clean | After drywall, before finishes go in | Debris haul-out, bulk dust, stickers, first HEPA pass |
| Light / touch-up clean | After finishes are in, before the walkthrough | Paint and caulk spot-removal, cabinet interiors, punch-list finds |
| Final clean | 24 to 48 hours after the last trade leaves | Full top-down detail: fixtures, glass, tracks, appliances, floors last |
Our post-construction cleaning runs on exactly this three-pass method, scheduled around the GC's finish dates rather than dropped in at the end and hoped for.
The room-by-room final clean checklist
Same rules as any professional pass, only stricter. Top to bottom, because dust falls. Back to front, so you never cross a finished floor. And finish each room before opening the next door.
Kitchen
- Vacuum inside every cabinet, drawer, and pantry shelf, then damp-wipe and dry
- Peel labels and film from appliances and fixtures, then lift the adhesive left behind
- Clean inside the oven, fridge, dishwasher, and microwave before first use
- Detail the backsplash grout, sink, faucet, and the toe-kick under the cabinets
Bathrooms
- Buff grout haze off new tile with a dry microfiber first
- Strip protective film from the tub, shower pan, glass, and mirror edges
- Dust the exhaust fan cover, vanity interior, and behind the toilet base
- Polish fixtures and glass last, after everything above them is done
Windows, glass, and tracks
- Vacuum tracks and weep holes with a crevice tool, then swab the corners
- Scrape paint specks with a fresh blade held flat and kept wet
- Pull manufacturer stickers and glazing labels from every pane
- Wipe frames and sills first, glass last, so nothing drips onto a clean pane
Light fixtures, vents, and ceilings
- HEPA vacuum ceiling corners, fan blades, and the tops of door casings
- Wash glass shades and diffusers, then dry fully before rehanging
- Pull every supply and return register, vacuum the duct run, wash the covers
- Swap the HVAC filter — the one in there is loaded with sanding dust
Doors, trim, and hardware
- Wipe both faces and the top edge of every door, plus jambs and hinges
- Run a damp cloth along baseboards, crown, casing, and under handrails
- Clean switch plates, outlet covers, thermostats, and alarm panels
- Polish knobs and pulls, and check closet shelving and rods for sawdust
Floors
Floors go last, and grit is the enemy — one dusty mop pass can scratch a brand-new finish.
- HEPA vacuum twice: once for the bulk, once after walls and trim are wiped
- Damp mop with a pH-neutral cleaner, changing the water often
- Check grout lines and vinyl seams for haze, mortar crumbs, and dried adhesive
- Extract new carpet rather than vacuuming it — fine dust sinks into the pile
That last one surprises people. Drywall dust settles below the surface of new carpet and a household vacuum only lifts the top layer, so it keeps resurfacing for months. Extraction is the fix, which is why we often pair carpet cleaning with a final clean on a new build.
Garage and the spots everyone forgets
- Sweep and HEPA vacuum the slab — the garage was the cut station all build
- Clear debris and nails from the driveway, walkway, and exterior stairs
- Wipe the electrical panel face, water heater, and furnace closet shelves
- Check the attic hatch, stair stringers, and behind every door that stayed open
Construction dust: why it keeps coming back
Household dust is mostly fibers and skin, and it falls where it is dropped. Construction dust is pulverized mineral — gypsum, silica, wood, joint compound — ground fine enough to stay suspended for hours and ride the smallest air current into rooms that were supposedly sealed off. That is why it reappears: it had not landed yet.
So the best way to clean construction dust is less about product than sequence. Change the HVAC filter and leave the blower off while you work — running it mid-clean redistributes everything you just captured. Then work top-down with a true HEPA vacuum: ceilings, fixtures, vents, casings, walls, trim, ledges, floors. Without HEPA filtration a vacuum just pushes the finest particles back into the room.
Only then does anything get wiped, and it gets wiped damp — never dry, never soaking. A dry cloth is a launcher. Use microfiber, fold to a clean face constantly, and rinse in a bucket you empty outside, not into a new sink where slurry sets in the trap. On walls headed for paint, finish with a tack cloth. Then wait a day and run the horizontal surfaces again.
| Do this | Not this |
|---|---|
| Vacuum with a true HEPA filter before anything gets wiped | Use a shop vac with no fine-dust filter |
| Work strictly top-down: ceilings, walls, trim, floors | Start with the floors because they look worst |
| Change the HVAC filter first, blower off while you clean | Run the furnace mid-clean and push dust through every room |
| Wait 24 hours, then repeat the horizontal surfaces | Assume one perfect pass is the end of it |
Drywall dust and grout haze, specifically
Drywall dust cleanup gets its own rules because gypsum behaves unlike anything else you clean. Add too much water and the powder turns to a chalky paste that smears and dries as a visible film — which is how a wall that looked fine before wiping ends up cloudier after. So vacuum first with a HEPA machine and a soft brush head, then wipe with a cloth that is barely damp, rinsing every few feet. Two or three rounds, and no product shortcuts it.
Wear an N95 while you do it. Fine gypsum and the silica mixed into it are real respiratory irritants, and post-remodel sanding dust is far more concentrated than anything in a normal home. Keep windows open, point a box fan out rather than in, and change the HVAC filter again a week after move-in.
Grout haze is the other one that fights back: a thin mineral film left on tile after grouting. Caught within a week or two it usually buffs off with a dry microfiber. Past that it hardens, and the fix moves to a haze remover matched to the grout — acidic products can damage natural stone, unsealed tile, and fresh grout, so test in a corner first.
What post-construction cleaning costs per square foot
Construction cleaning rates are normally quoted per square foot, because square footage is the one variable that tracks the work reliably. As a typical 2026 estimate, most crews land between about $0.30 and $0.90 per square foot for a final clean — light touch-up on a tidy site at the bottom, a dusty full build with a lot of glass at the top. Rough cleans are often quoted lower, since they are debris removal rather than detailing.
Hourly pricing exists too, commonly around $35 to $60 per cleaner per hour as a 2026 estimate. It is a fair way to bill and a hard way to budget — nobody can tell you at hour one how many hours a dusty house will take. Small jobs usually carry a minimum, so a bathroom remodel gets priced as a job. Treat all of these as ranges, not quotes.
What actually moves the post construction cleaning price per square foot:
- Square footage and ceiling height — tall rooms mean more glass and ladder work
- How much fine drywall dust and debris the finish trades left behind
- Which phase you are booking — rough, touch-up, or full final clean
- Window count and track detail, the most underestimated line on any quote
- Floor type — new carpet needing extraction costs more than sealed hardwood
We price post-construction cleaning from $0.45 per square foot, quoted flat and up front. We start there rather than lower because the number covers the three-pass method and the return visit — a bargain quote usually buys one pass, and one pass on a fresh build does not hold. Send scope and a few photos and get a flat quote in about 60 seconds.
Who is responsible for cleanup after construction?
This is where remodels turn tense at the finish line, and it is almost always a contract question rather than a fairness one. Most general contractor agreements obligate the GC to leave the site in “broom-clean condition” — debris hauled off, floors swept, tools gone. That is a real standard and a low one. Broom clean is not move-in ready: it misses window tracks, cabinet interiors, grout haze, and the dust on every ledge.
Subcontractors are typically responsible for their own debris — the electrician's clippings, the plumber's packaging — but not for the dust their cutting and sanding sent through the rest of the building. The detailed final clean is usually a separate line item the GC subs out, something the homeowner arranges, or an argument on handover day.
So read the cleanup clause before the job wraps, not after. Check whether it says broom clean or final clean, who books it, who pays, and whether it lands before or after the punch list. We work both sides of this every week — sometimes the GC hires us, sometimes the homeowner does — so if you are not sure where your contract puts you, send us the scope and we will tell you what a normal split looks like.
When to hand it to a crew
A single-room renovation is genuinely doable yourself with a HEPA vacuum, a stack of microfiber, an N95, and a free weekend plus the follow-up pass. A crew earns its keep on scale and equipment: a whole house, twenty-plus windows, new carpet that needs extraction, or a handover date that does not move. The other honest reason is risk — new finishes mark easily, and learning that on your own cabinets is expensive.
Our post-construction cleaning runs the full three-pass method with HEPA vacuums, window-track detail, paint and caulk spot-removal, inside-cabinet work, and handoff photos for your GC — from $0.45 per square foot, quoted flat. Once you are moved in, recurring home cleaning keeps settling dust from turning back into a project, starting at $150 with the same cleaner every visit.
We are a background-checked, bonded and insured crew that has cleaned Puget Sound homes since 2022, serving the North Sound across north King, Snohomish, and Skagit counties — from Seattle, Bellevue, and Kirkland up through Everett, Marysville, and Arlington to Mount Vernon and Burlington. A COI goes to your GC or property manager on request, every visit is backed by a 100% satisfaction guarantee, and you can get a flat quote in about 60 seconds.