Blinds are the dustiest thing in most rooms and the last thing anyone wants to clean, for the same reason: dozens of narrow horizontal shelves, each one collecting whatever floats past the window. Dust alone wipes off easily. The trouble starts when dust sits long enough to bond with humidity, cooking vapor or skin oils from fingers on the slats, and turns into a film that a duster just pushes around. Everything below is built to stop that film from forming and to remove it cleanly when it already has.
Two ideas carry the whole guide. First, dry before damp: water on dusty slats makes mud, and mud streaks. Second, the material decides the method. Faux wood and aluminum shrug off water; real wood and fabric do not. Get those two things right and the rest is just rhythm.
The dry pass that does most of the work
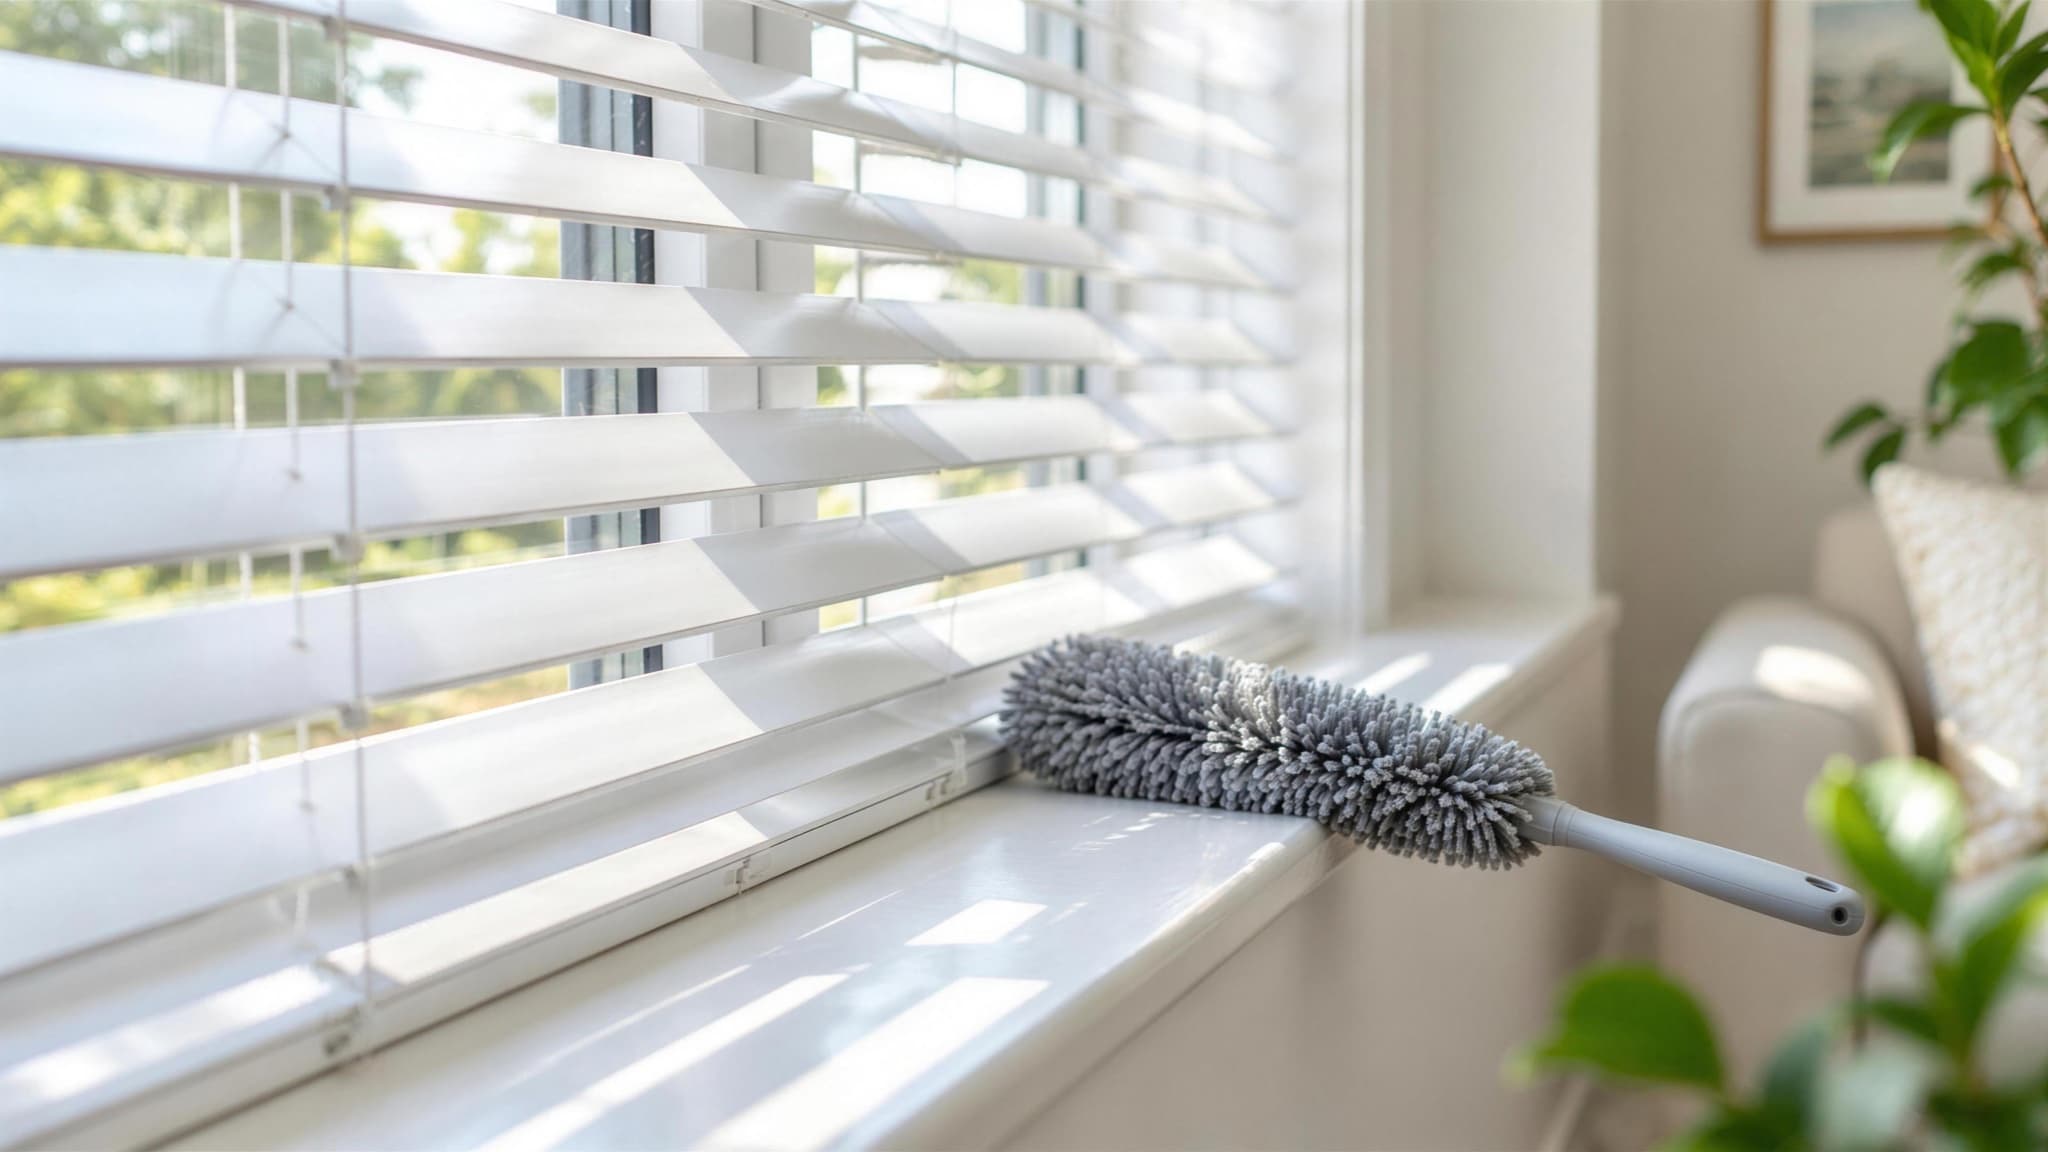
Start with the blinds fully lowered and the slats tilted closed, so they overlap into one flat surface facing you. Now the blind behaves like a wall instead of a row of ledges, and you can wipe it in long strokes. Three tools work; use whichever you have.
- A dry microfiber cloth, folded into quarters so you can turn to a clean face as it loads up with dust
- The soft brush attachment on a vacuum, on low suction, which pulls dust out instead of flicking it into the air
- A lambswool or microfiber duster for a quick maintenance pass between proper cleans
- Not a feather duster, which mostly relocates dust, and not a dry paper towel, which scratches glossy slats
Work from the top down so loosened dust falls onto slats you have not reached yet, not ones you just finished. When the front face is done, tilt the slats closed the opposite way and do the back face the same way. Finish by wiping the headrail along the top, the sill underneath, and the bottom rail, which is where everything you knocked loose now sits. If you skip the dry pass and go straight to a wet cloth, you will spend the next half hour chasing grey streaks; this step is the one that makes the damp pass quick.
The damp pass, one slat at a time
With the dust gone, tilt the slats fully open so they sit flat, like shelves, and you can reach the top and bottom of each one. Wring a microfiber cloth out in warm water with a few drops of dish soap until it is barely damp, then pinch a slat between your thumb and fingers with the cloth wrapped around it and draw it along the full length. Both faces come clean in one stroke. The cotton-sock trick, an old sock over your hand dipped in the same water, does the same thing and is easier on the wrist if you have a lot of windows.
Keep a second, dry cloth in your other hand and dry each slat right after you wipe it. Water left to evaporate on a slat leaves mineral spots, especially on dark blinds, and on wood it has time to soak into the edge grain. Rinse the damp cloth every few slats; once the water turns grey you are painting dirt back on. For a standard window the whole damp pass takes about ten minutes once the dry pass has been done properly.
Match the method to the material
The dry-then-damp routine is the default, but how much water each blind can take varies a lot. If you are not sure what yours are made of, lift the bottom rail: faux wood is noticeably heavier than real wood of the same size, and a slat edge that looks like smooth plastic rather than grain is vinyl or composite.
| Blind type | Safe method | Never |
|---|---|---|
| Faux wood and vinyl | Dry pass, then a damp cloth with dish soap; a bathtub soak is fine for vinyl | Abrasive pads, solvent cleaners, hot water that can warp slats |
| Real wood | Dry dusting most of the time; a barely damp cloth, dried immediately, when needed | Soaking, vinegar, all-purpose sprays, anything that leaves the slat wet |
| Aluminum mini blinds | Damp cloth on the window; bathtub soak once a year if they are grimy | Pressing hard on the slats, which creases them for good |
| Fabric, cellular and roller shades | Vacuum with the brush attachment on low; blot spots with mild soapy water | Soaking, scrubbing, or any cleaner you have not tested on a hidden corner |
| Vertical blinds | Vinyl vanes: damp cloth top to bottom; fabric vanes: vacuum, then spot-clean | Machine washing fabric vanes unless the maker says so; they lose their stiffener |
Real wood deserves one more sentence, because it is the one that gets ruined. The finish on a wood slat is thin, and the edges are often unsealed. Water sitting there swells the grain, and vinegar or citrus cleaners can dull the lacquer in a single wipe. Dust them often so they rarely need more, and when they do, the cloth should be damp enough to pick up grime and no damper. A little furniture polish on a soft cloth once or twice a year keeps the finish from drying out.
The bathtub method, honestly described
Every guide mentions soaking blinds in the tub, and it does work for aluminum and vinyl blinds that are past the wipe-down stage: years of kitchen grease, nicotine film, a rental that came with them. It is also a wet, awkward 45-minute job, which is why most people do it once and then go back to wiping. If you are going to do it, do it properly.
- Unhook the blind from its brackets and lay an old towel in the tub first so the slats and the bottom rail cannot scratch the enamel
- Fill with a few inches of warm, not hot, water and a squirt of dish soap; hot water can warp vinyl slats
- Soak 20 to 30 minutes, then wipe each slat with a soft cloth or sponge while it is still in the water
- Rinse with the shower head, shake off the excess, and hang the blind over the shower rod or an outdoor line to drip-dry fully before rehanging
Keep the headrail out of the water as much as you can; the tilt mechanism and cord lock inside it do not love a soak, and a wet cord can take days to dry. Wood and faux wood with a wood-composite core stay on the window. So do fabric and cellular shades, which lose their shape and their stiffener when they get wet.
Kitchen blinds and the grease problem
Blinds over a kitchen sink or near the stove pick up a different kind of dirt. Cooking vapor carries tiny droplets of fat that settle on every surface in the room, and dust bonds to that fat into a sticky, yellowish film. A dry cloth smears it, and plain water beads off it. The fix is a degreaser, and the gentlest one that works is dish soap, because cutting fat is what it is made for.
Wipe each slat with a cloth dampened in warm water with a good squirt of dish soap, let the soap sit on the slat for a minute on heavy film, then wipe with a clean damp cloth and dry. For spots that will not move, a paste of baking soda and water worked gently along the slat lifts them without scratching. On real wood in a kitchen, the same soapy cloth wrung nearly dry and dried immediately is as far as you can safely go. The longer-term fix is making sure the range hood actually vents outdoors; a recirculating hood with a tired filter puts most of that grease right back in the room.
Why fall is the right time for a thorough pass
If you only do the full damp-wipe routine once a year, do it in October. By then the slats carry a whole summer of open-window dust and pollen, plus the fine ash that drifts in during wildfire smoke stretches that have become a regular feature of late summer around the Puget Sound region. The windows are about to stay closed until spring, and the furnace is about to start pushing air through the house for the first time in months, which stirs up whatever is sitting on horizontal surfaces and carries it everywhere else.
Cleaning blinds, sills and window tracks before the heating season means the air the furnace moves around is starting from a cleaner baseline, and it means the next six months of closed-window living start with slats that only need a quick dusting. Swap the furnace filter the same weekend and the whole house holds its clean noticeably longer.
How often to clean blinds
The whole point of the rhythm below is that dust never gets the weeks it needs to bond into film. Keep up the quick passes and the deep clean stays a ten-minute job per window instead of an afternoon.
| Frequency | What to do |
|---|---|
| Every two weeks | Dry pass with a microfiber cloth or duster, slats closed, both faces |
| Monthly | Vacuum with the brush attachment, wipe the headrail, sill and bottom rail; damp-wipe kitchen blinds |
| Every 3 to 4 months | Full dry-then-damp routine on every blind in the house, cords and wands included |
| Once a year, in fall | Bathtub soak for grimy aluminum or vinyl blinds; window tracks and screens at the same time |
Blinds slot naturally into the quarterly tier of our house cleaning schedule, alongside baseboards and the rest of the surfaces that collect dust slowly and then all at once. They are also on every deep cleaning checklist for a reason: clean windows with dusty blinds still read as a dusty room.
What a cleaning crew does with your blinds
On a standard recurring visit, blinds get a dry dusting so the film never gets a chance to form. On a deep clean, each slat gets the full dry-then-damp treatment along with the headrail, the sill and the window tracks, which is the pass most homes need once or twice a year and almost nobody enjoys doing themselves. Taking blinds down for a bathtub soak is a separate job, so if that is what a set of kitchen blinds needs, mention it when you book and we will tell you honestly whether it is worth it or whether a replacement set makes more sense.
A deep clean covers blinds, sills, tracks and the rest of the detail work that a regular visit skips, and our recurring home cleaning keeps it that way, starting at $150 with the same cleaner every visit. We're a background-checked, bonded and insured crew that has cleaned 1,200+ Puget Sound homes since 2022, now serving north King, Snohomish & Skagit counties, and every visit is backed by a 100% satisfaction guarantee. You can get a flat quote in about 60 seconds.